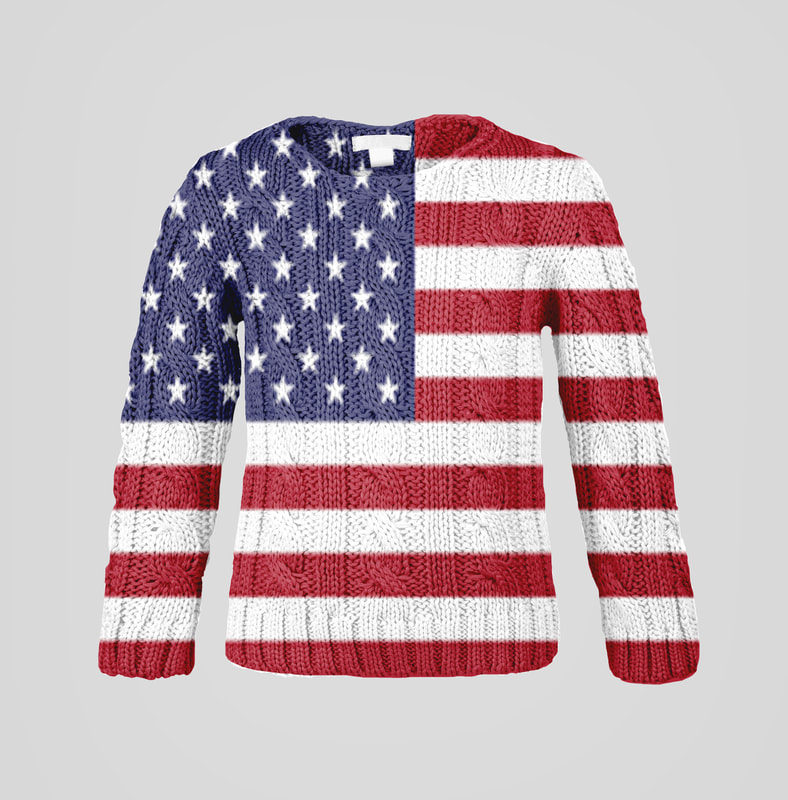
 In this project we were provided with an already put together template containing several different layers with a sweater that you can change the color of. I decided to place a picture of an American flag to place over the sweater and then erased the extra edges of flag that were in the background.
0 Comments
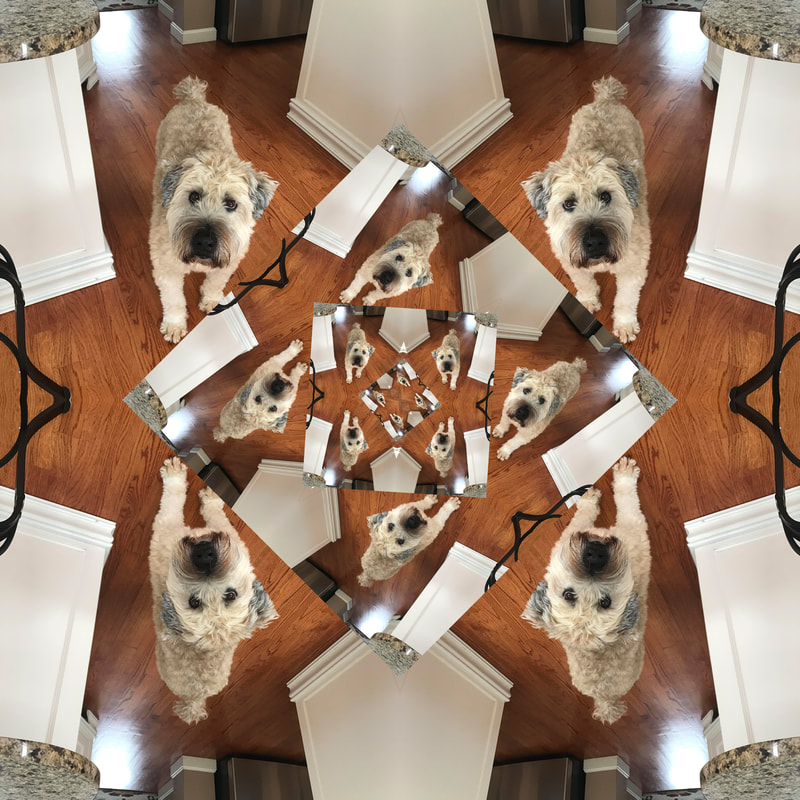 I used a picture of my dog and created the same thing that I created in the last post. However, this time I merged each layer and duplicated the merged layers and scaled it to be smaller without distorting the aspect ratio and then rotated it. I repeated this three times to create the image above.
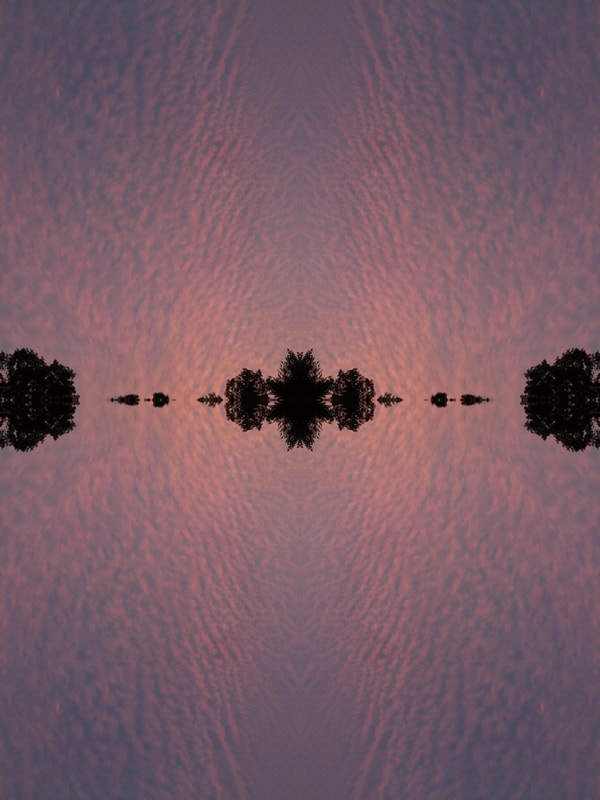
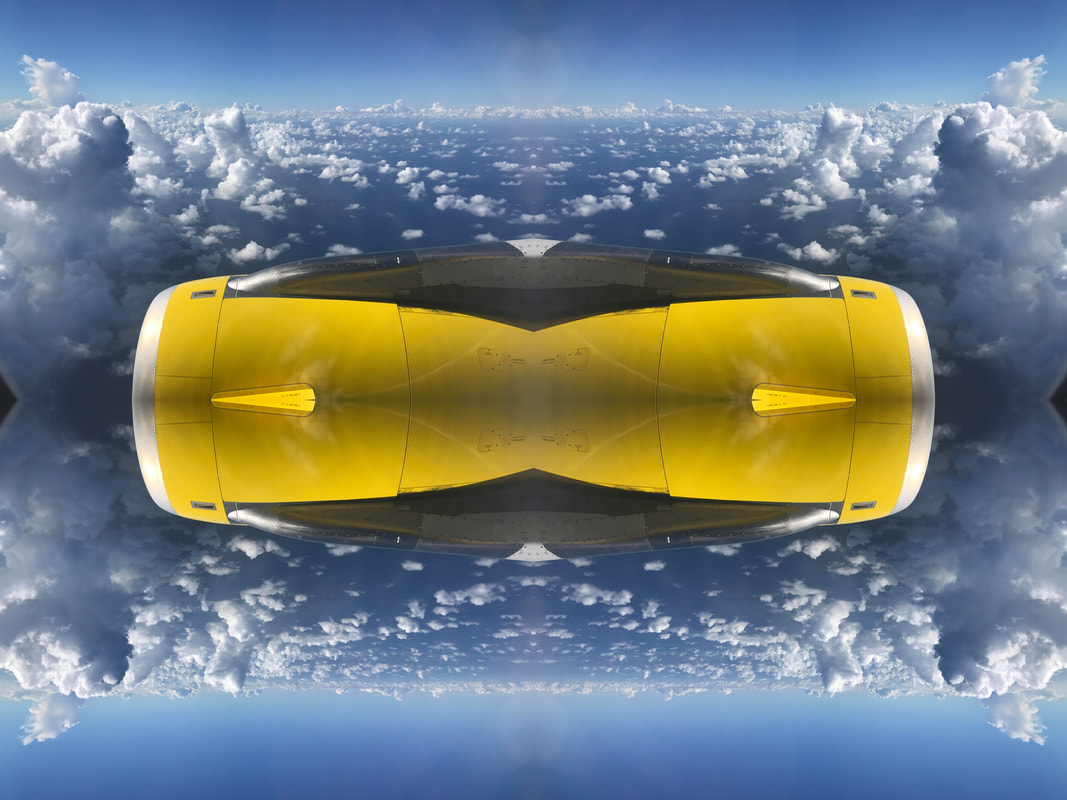
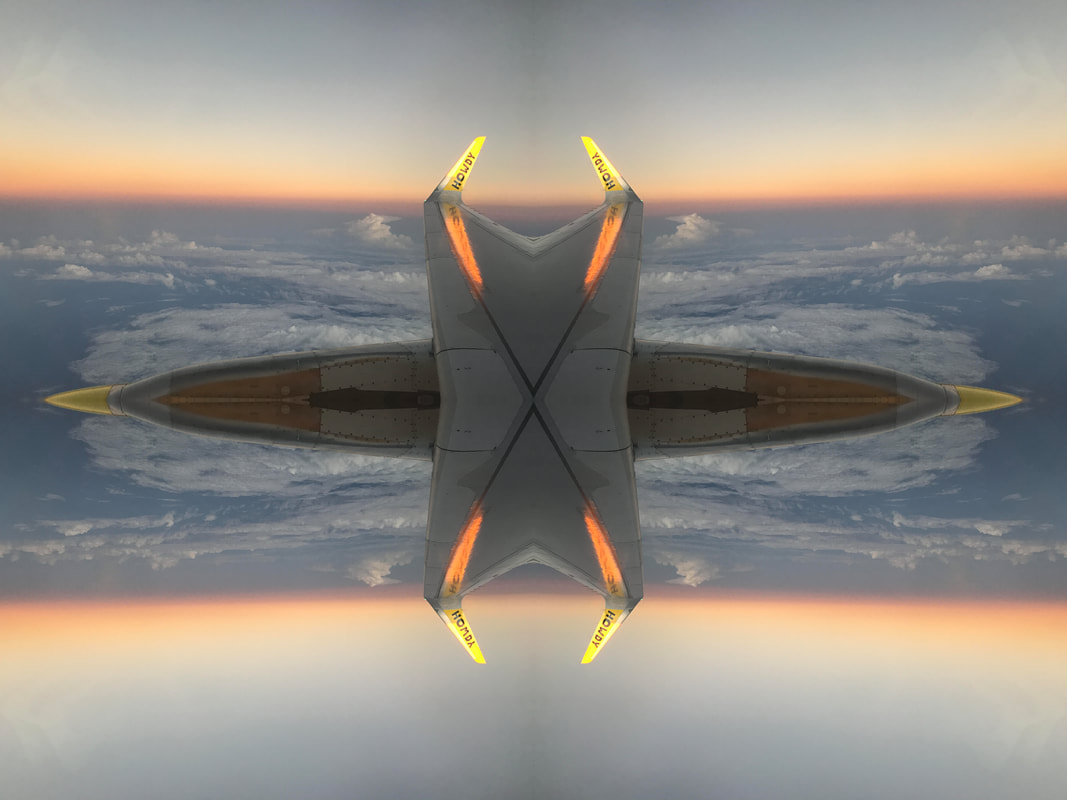
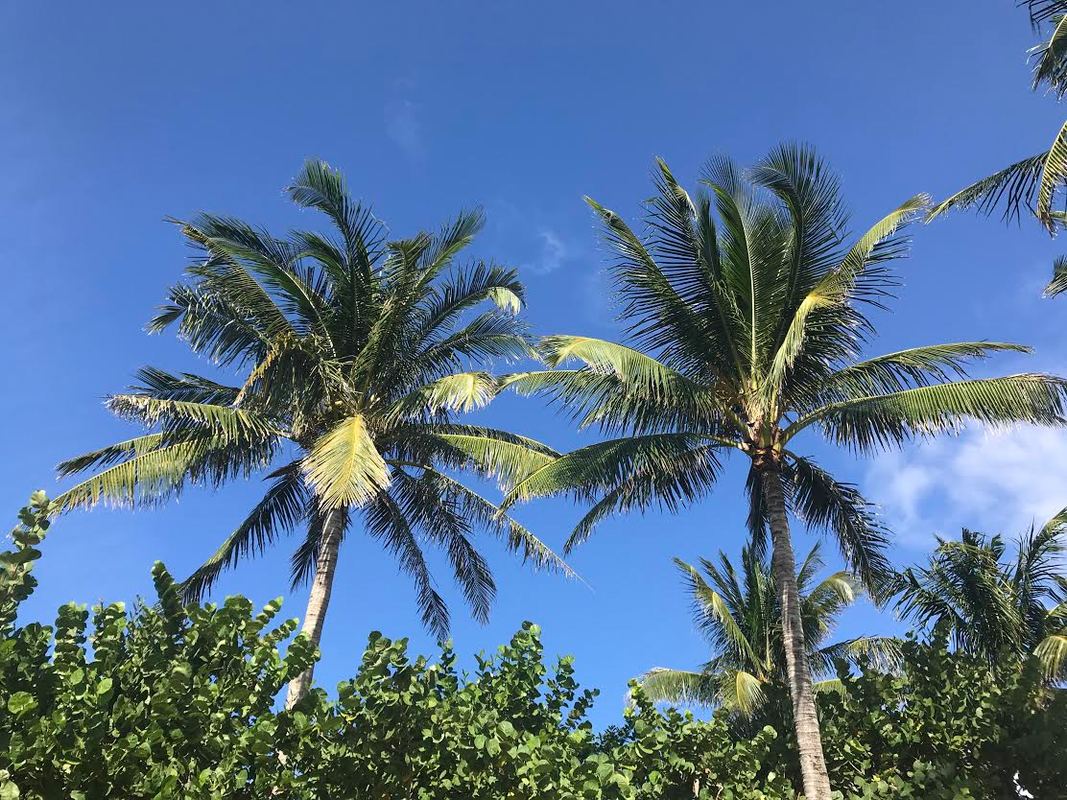
(This blog post is instead of the glitch photo.) We learned a new basic design process in photoshop. We learned how to double the canvas size so that you can quadruple your picture and transform each one to create pictures such as the photos above. Three of the four photos I chose for this project were taken either in Florida or in the plane on my way to Florida to visit my sister. That is why much of these pictures involves the sky and clouds because I was in an airplane.
This is a slideshow presentation that I created about a famous photographer named Yousuf Karsh who specialized in portraits of notable individuals.
With specific lighting and unique angles we were able to make strips of staples look like a city. Originally the background was a tin foil wall although we changed it to a black piece of paper with gold dots that we drew to look like stars. We attempted to make it look like a lit up city at night. Before uploading these images I used the filter gallery in Adobe Photoshop to put special effects on the photos.
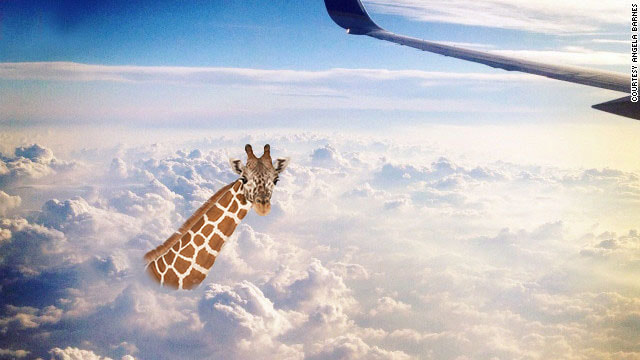 As an extra project while I have finished what needs to be done I photoshopped an image of a giraffe onto a photo from a plane so that it looks as though the giraffe is so tall that its head is above the clouds. (Neither of these are my photos).
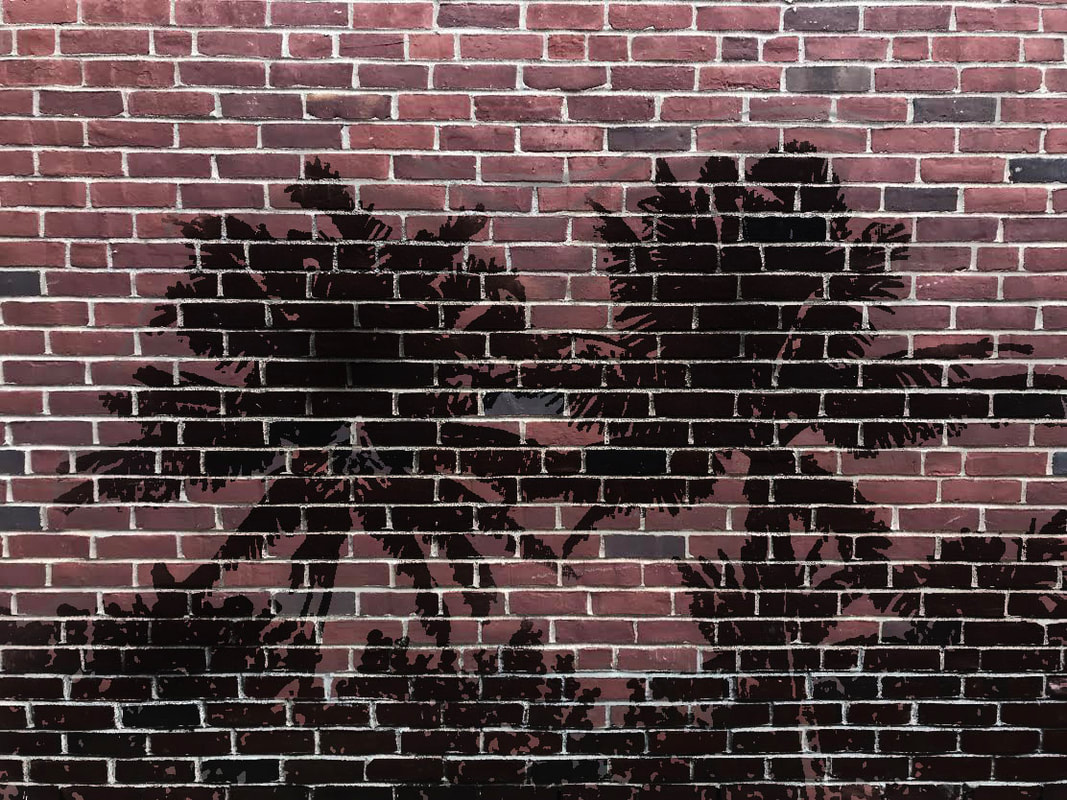
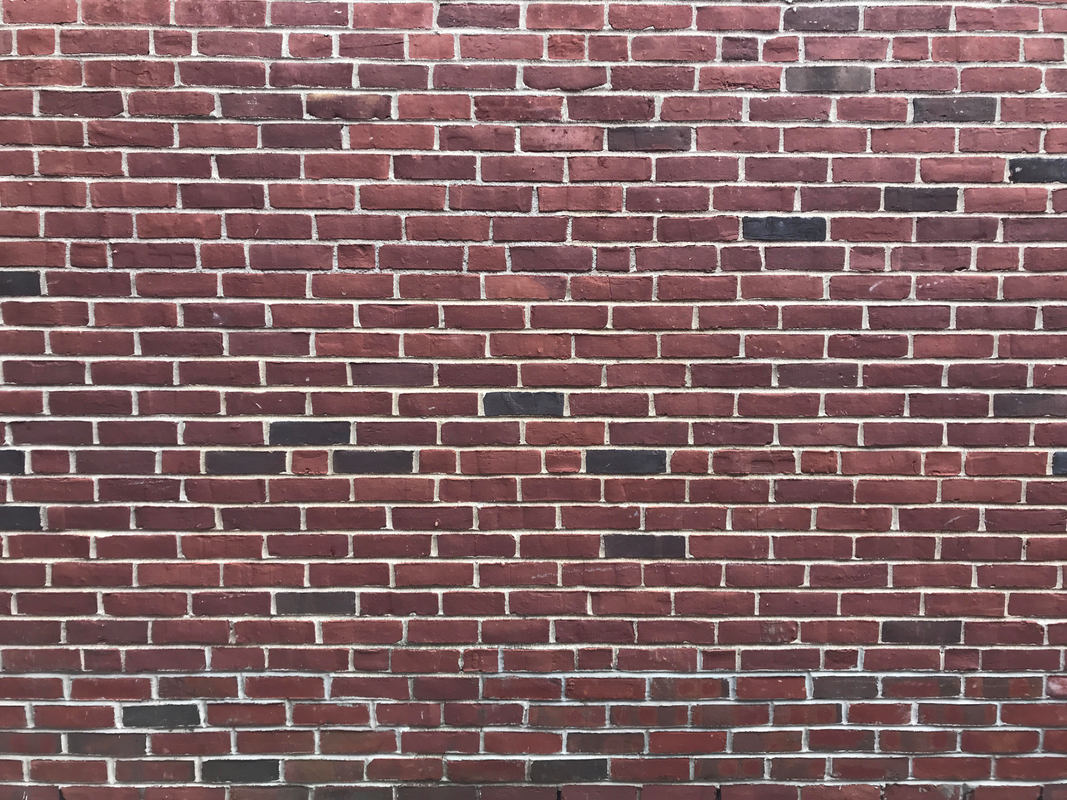
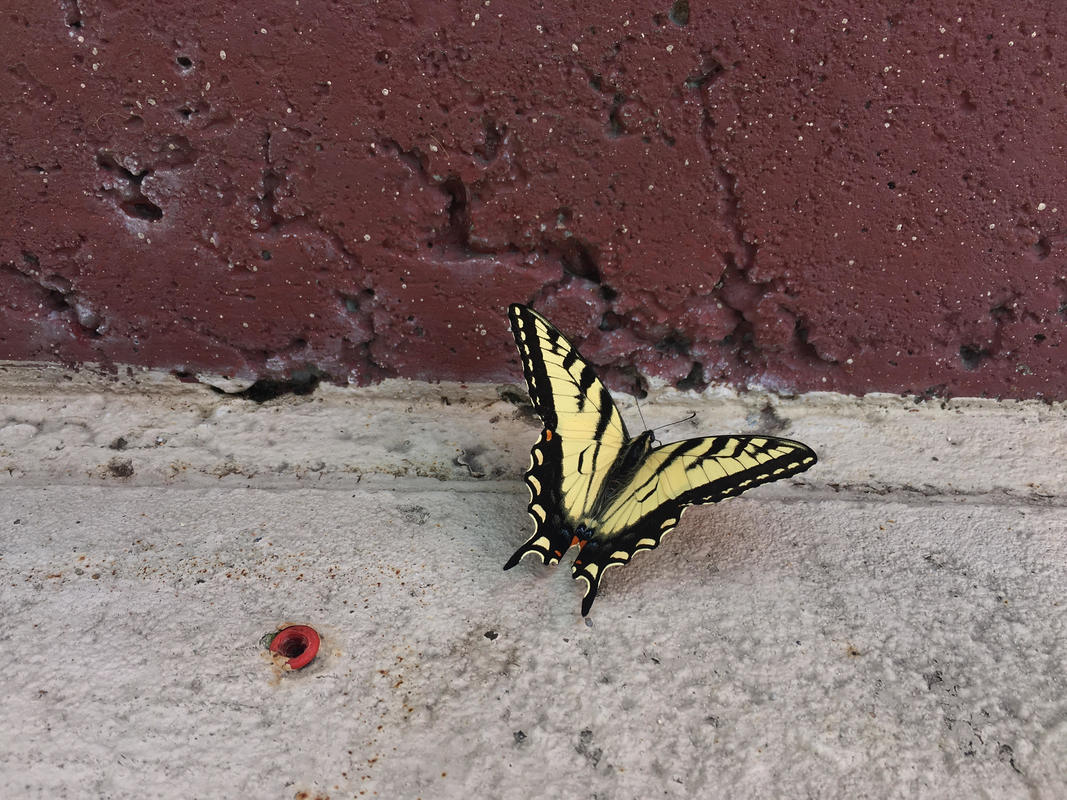
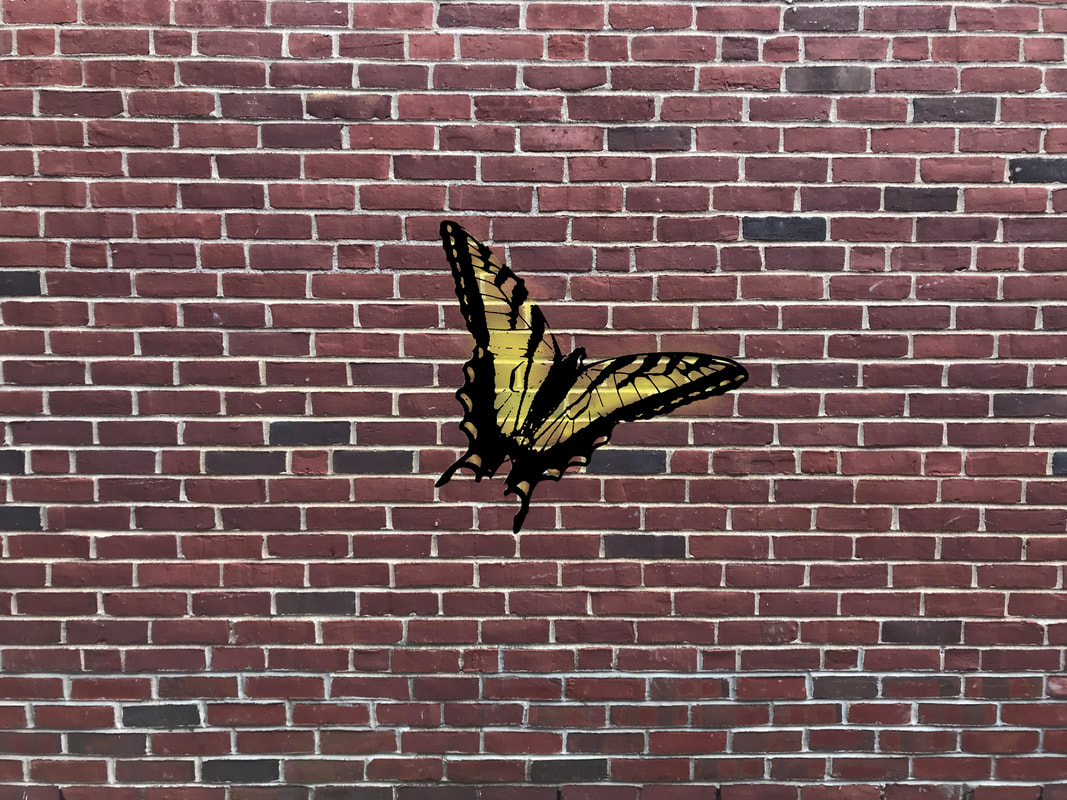 The photo I used in this street art photoshop design is one that I took over the summer when I noticed a butterfly land near me. The wall photo was taken outside of the school. The first thing I did to create this street art photoshop design was open the wall photo in photoshop and then drag the butterfly photo on top. The next thing I did was select the butterfly photo layer and went to filter gallery and selected --> sketch --> stamp and the photo made the butterfly black around the edges and white within the wing where the yellow is and most of the background was white as well. The photo also looked as though it was sketched with the stamp effect to make the final product actually appear as though it is street art. The next thing I did was go to select --> color range and I selected the color white so that it selected every white pixel in the black and white butterfly photo. I then pressed delete leaving only the outline of the butterfly and certain bits of the background. I used the eraser tool to erase what was left of the background leaving only the outline of the butterfly. I then selected the background layer of the brick wall, selected the paint brush tool, selected the color yellow, and then made the yellow less opaque so that the brick wall would be visible through the yellow to make it look more realistic. I then filled in where the original yellow was on the butterfly and pressed save.
During double photography today we chose two of our own photographs, one circular image used as a base and one subject image used as the color wheel. In order to take these images and turn them into a color wheel we followed these steps:
1. Use the quick selection tool to cut out the subject in each image and delete what is left behind it leaving the subject the only thing left. 2. Put both photographs onto one 20x20 transparent layer. 3. Hold down shift and adjust the images to the size you prefer. 4. Duplicate the subject image five times. 5. Place each duplicated image around the circular image where you want them. 6. After selecting one of the subject pictures, press command and the letter U to change the color of that image to red. 7. Repeat layer 6 with the rest of the subject images and each color of the color wheel. In the first picture someone was holding a string that had a baby shoe at the end of it and the shadow when the shoe was facing a certain direction looked like a snail so while he were fixing the shoe to face the correct direction I took a picture so it looked like he was holding a snail.
|
Morgan
Welcome to my first blog for photography class. Archives
May 2019
Categories |


 RSS Feed
