|
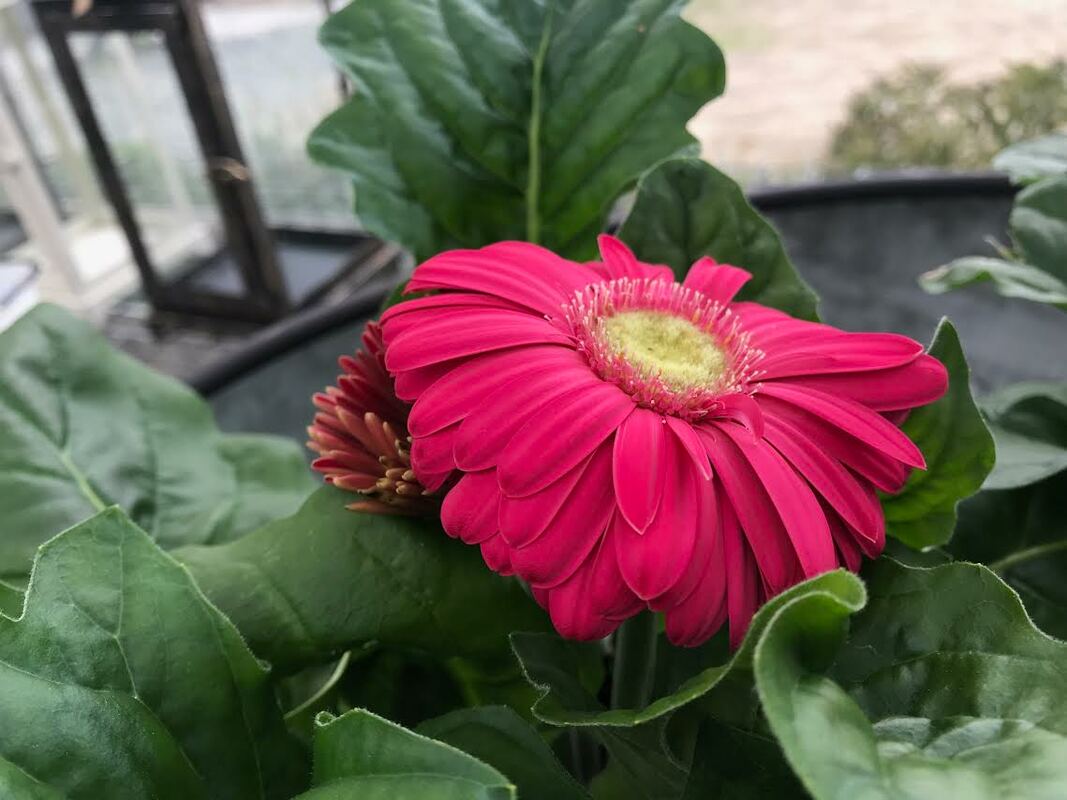
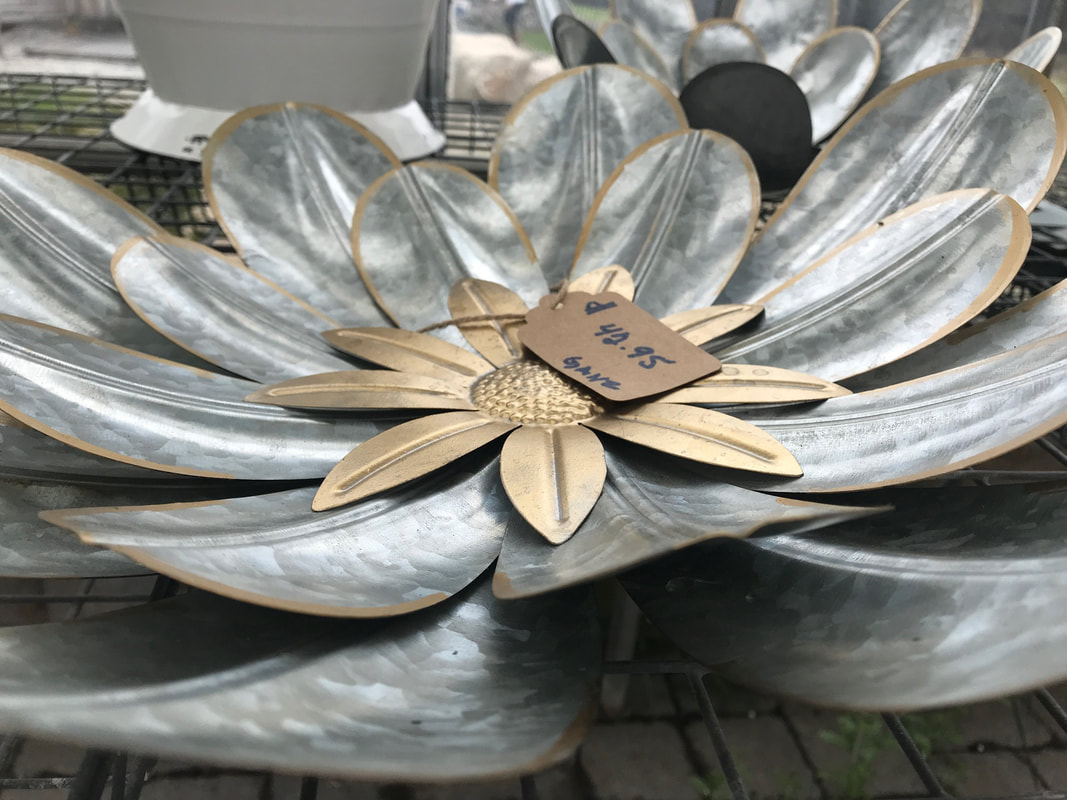
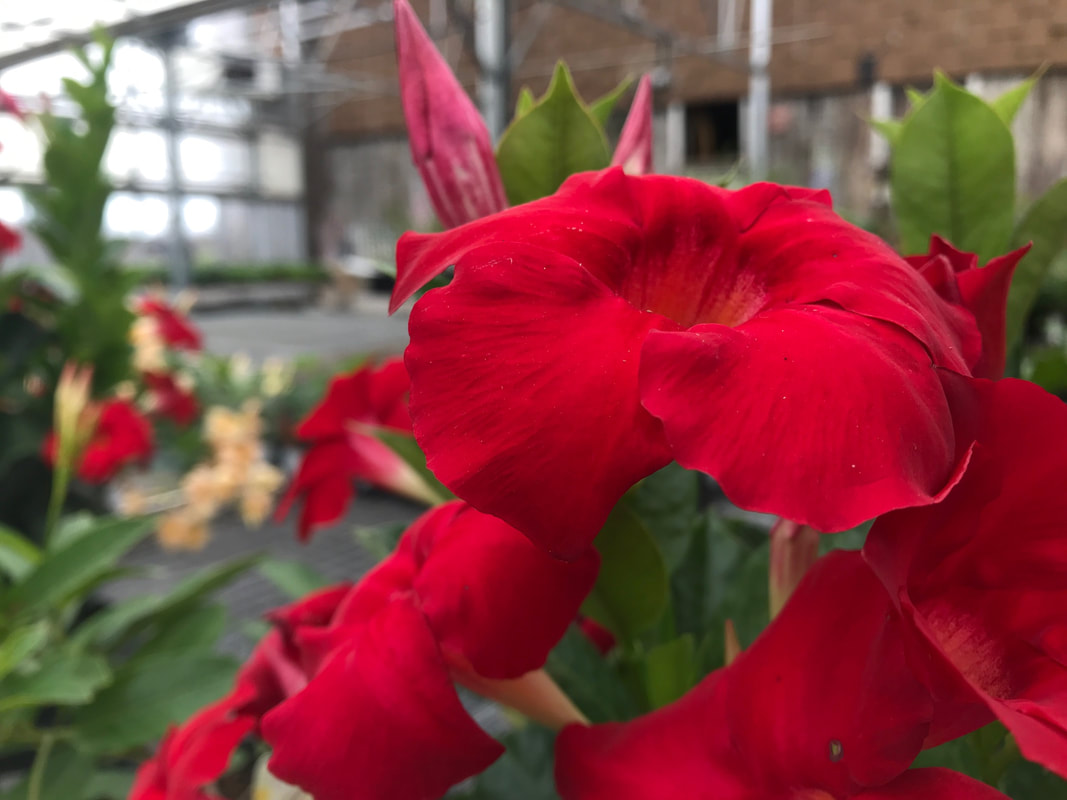
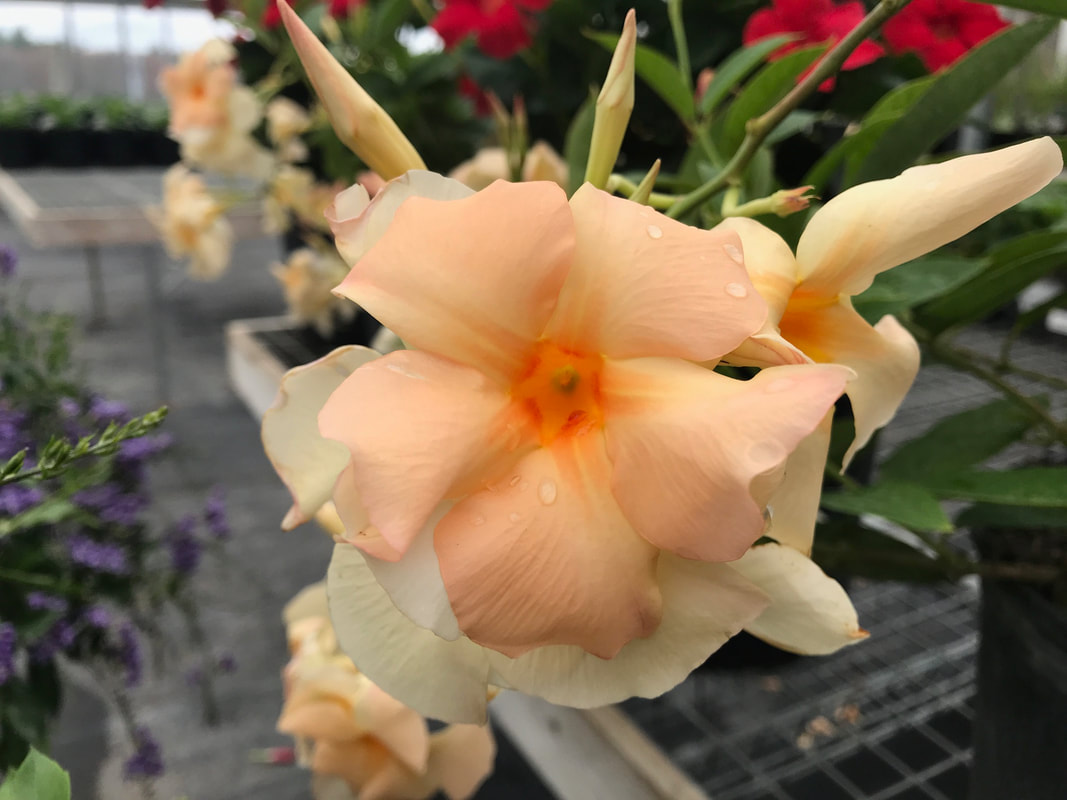
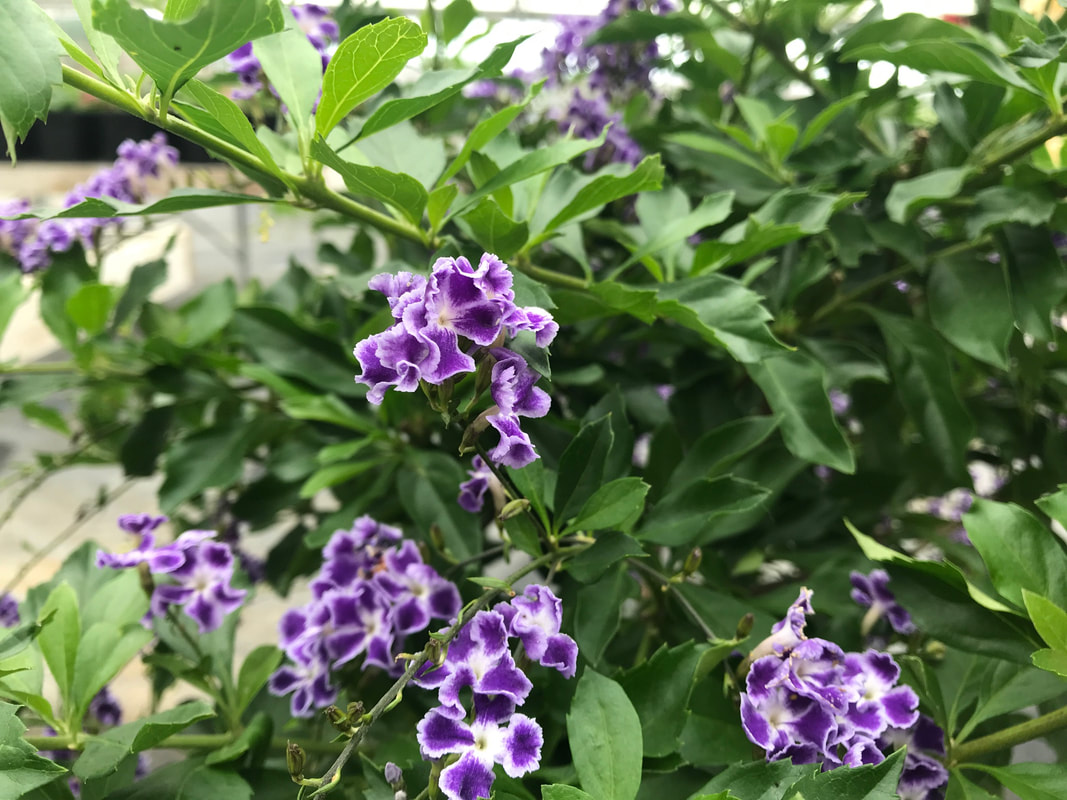
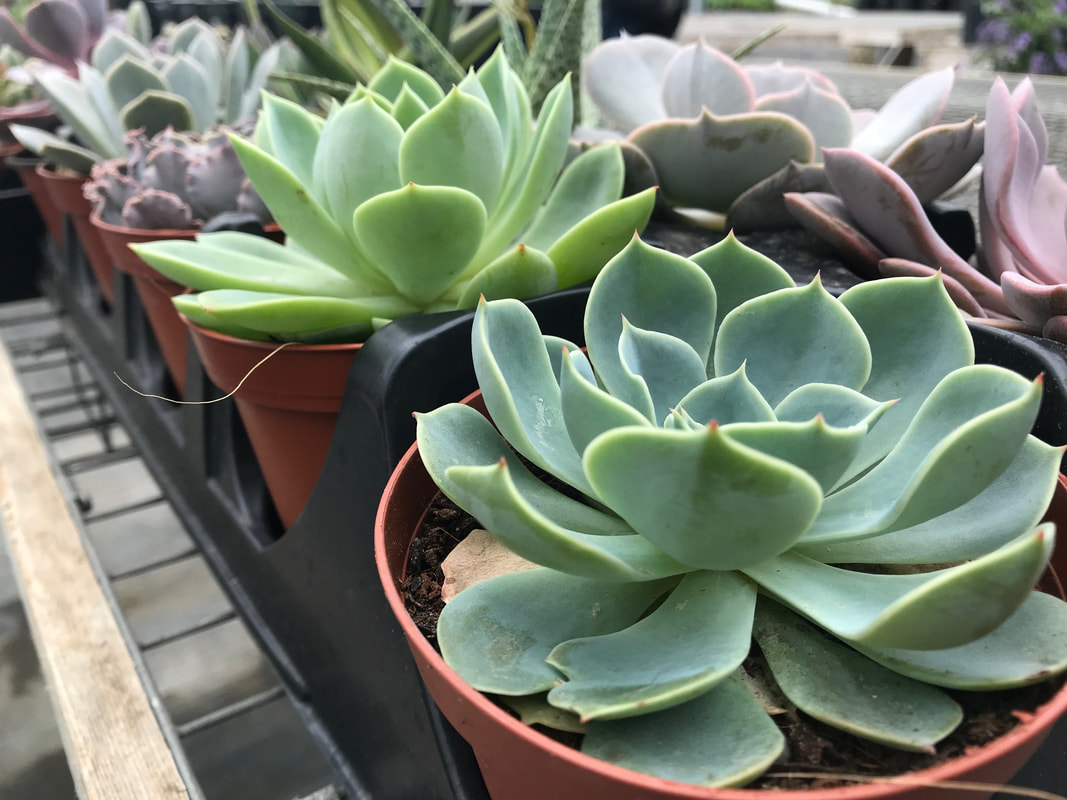
The elements of arts are line, shape, form, value, color, texture, and space. The principles of art are rhythm, movement, pattern/repetition, variety, balance/symmetry, emphasis, proportion, and contrast. We took a field trip to Tangerini's Farm for the second time this year to take photos of these elements and principles. These are a few of the photos that I took.
0 Comments
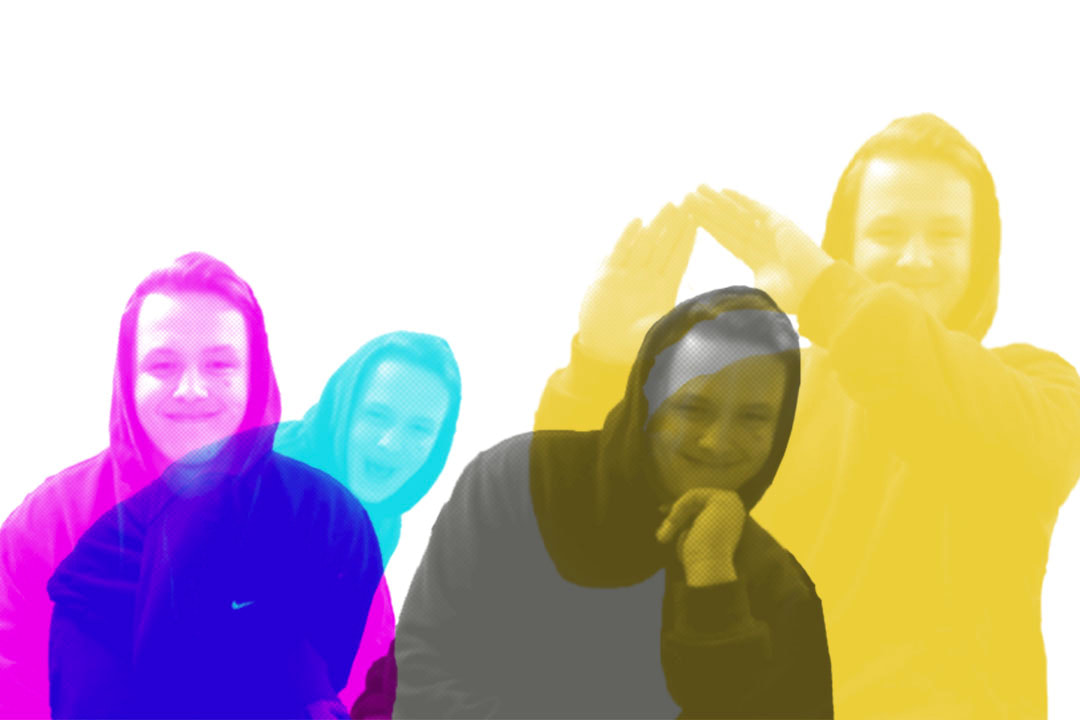 During this project we expanded our knowledge of photoshop. We learned how to split the photoshop screen to be able to view all your tabs at once. From there we dragged each layer of the cut out portrait onto photos which created a single canvas with several layers which was helpful. We then used the filter gallery to give the photo a different look. We blended the photos to be more transparent giving them the overlapping look.
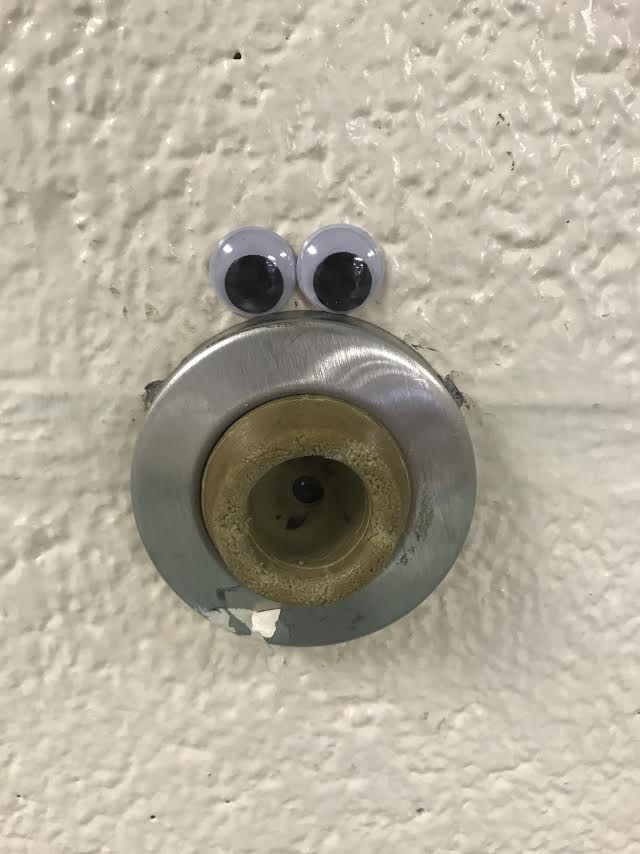
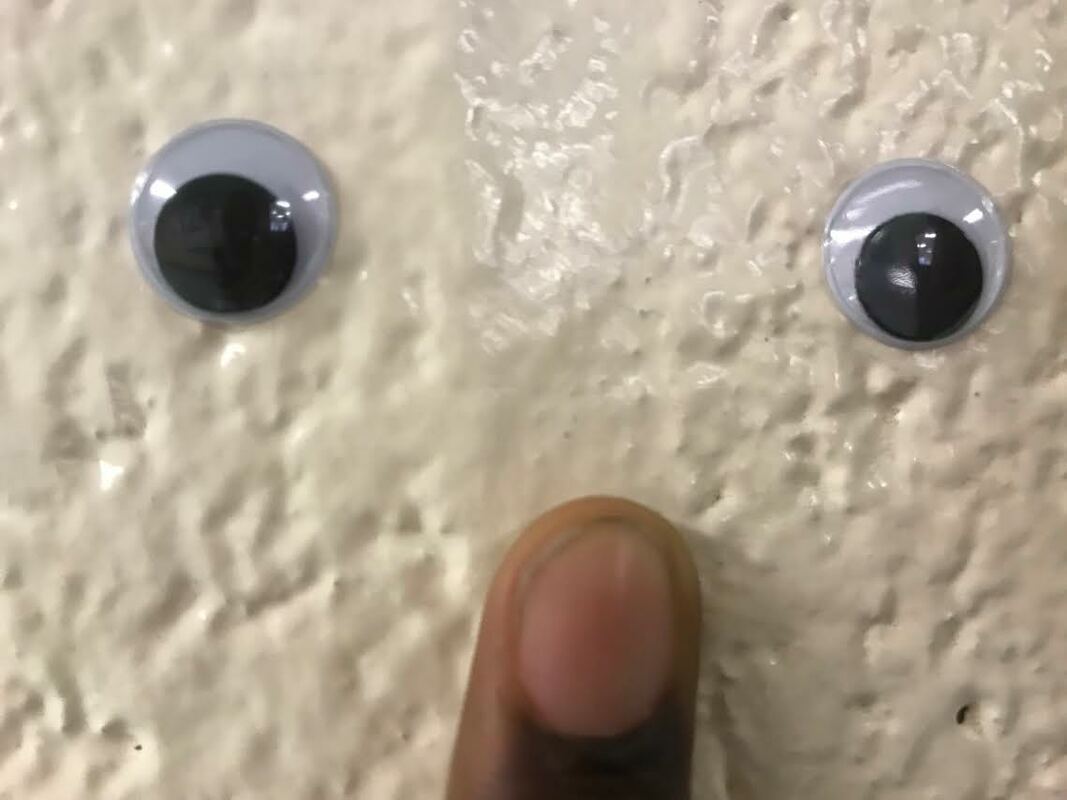
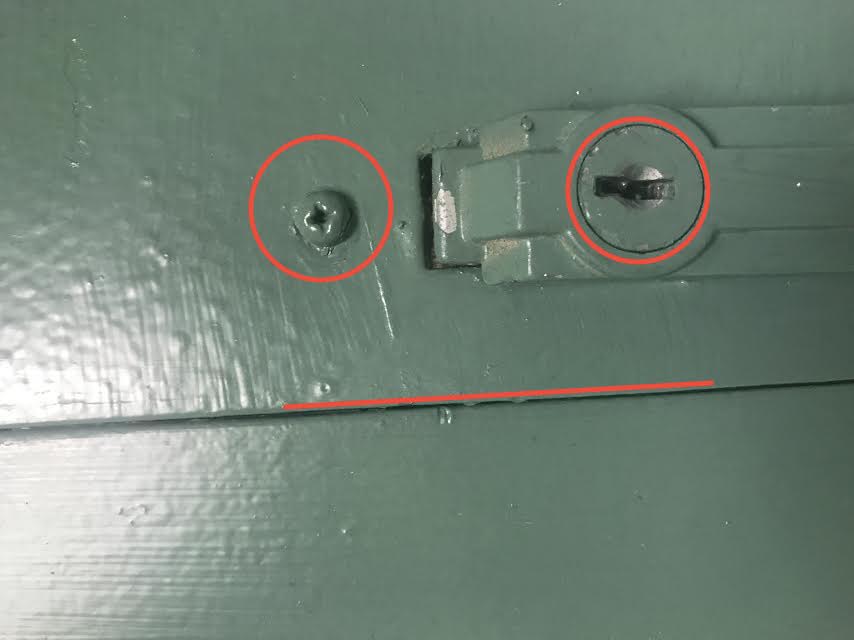
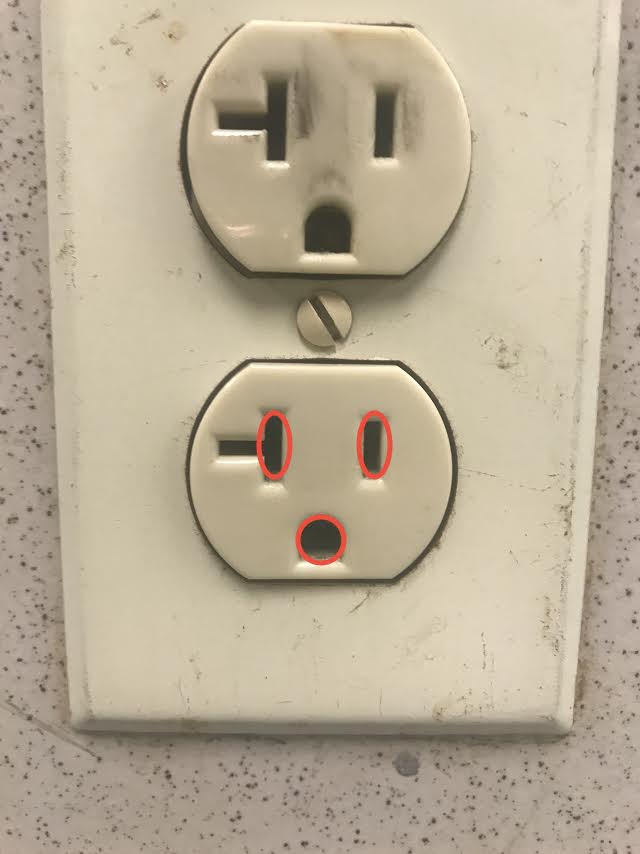
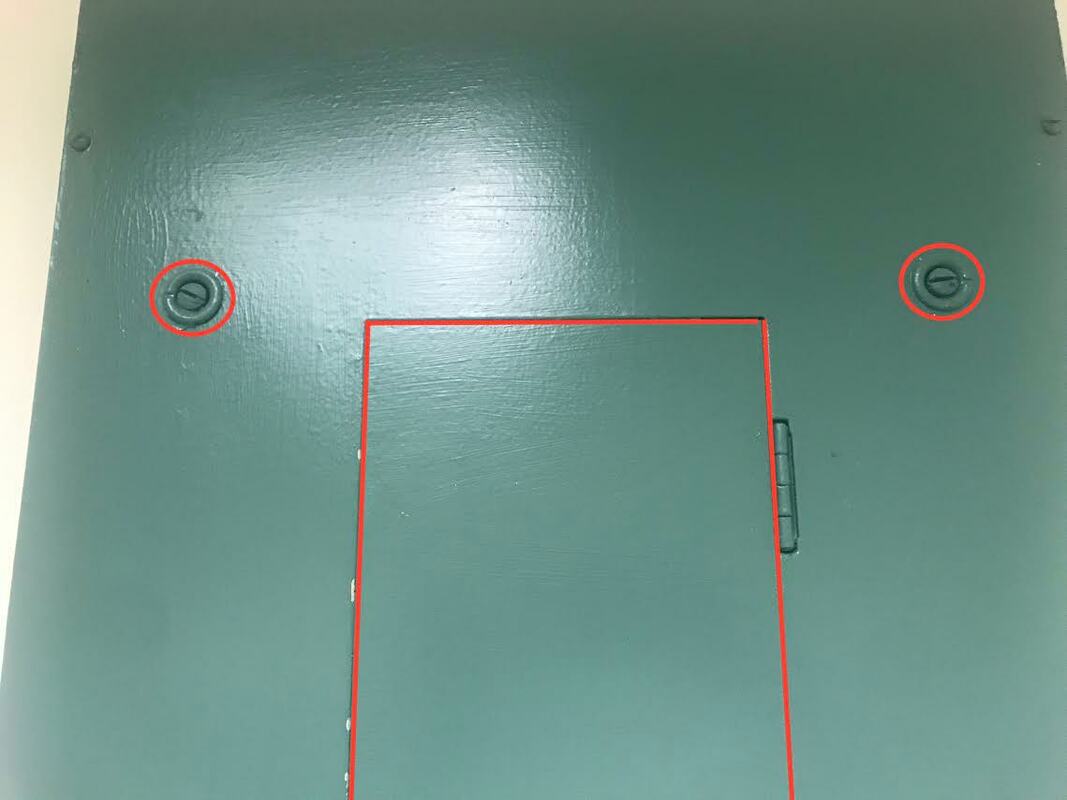
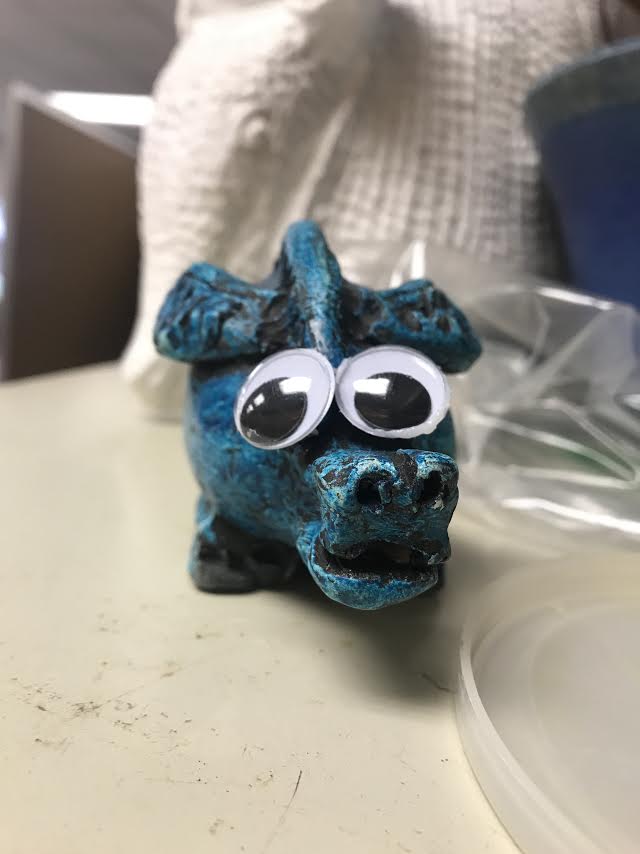
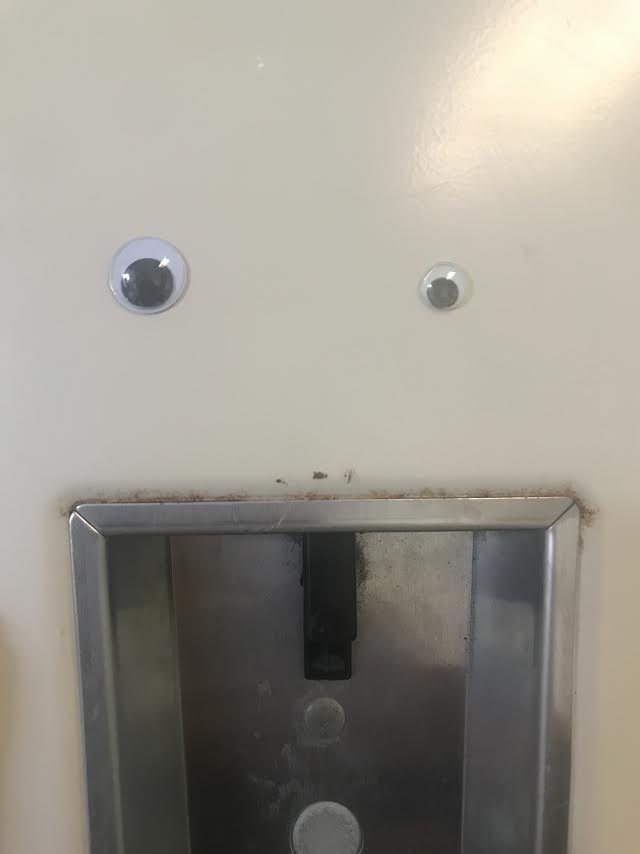
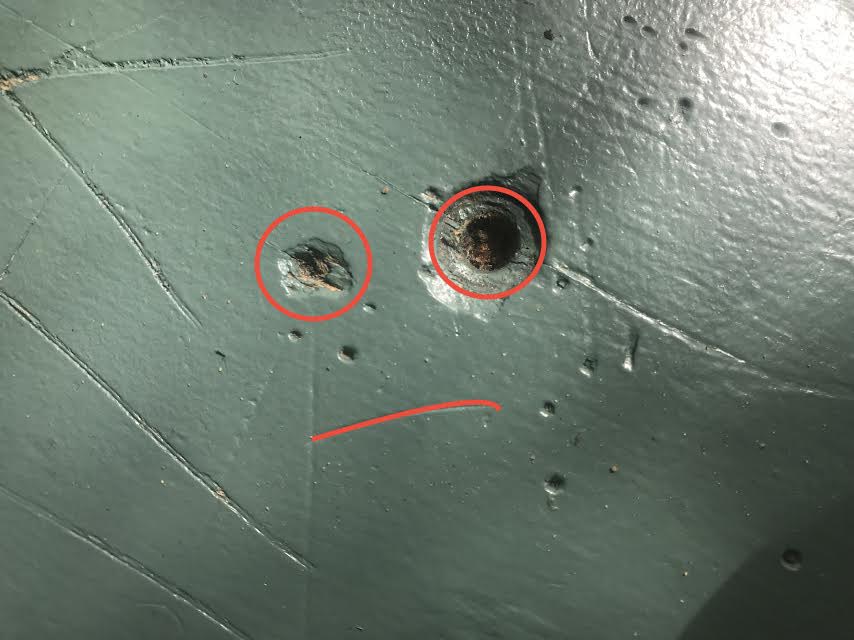
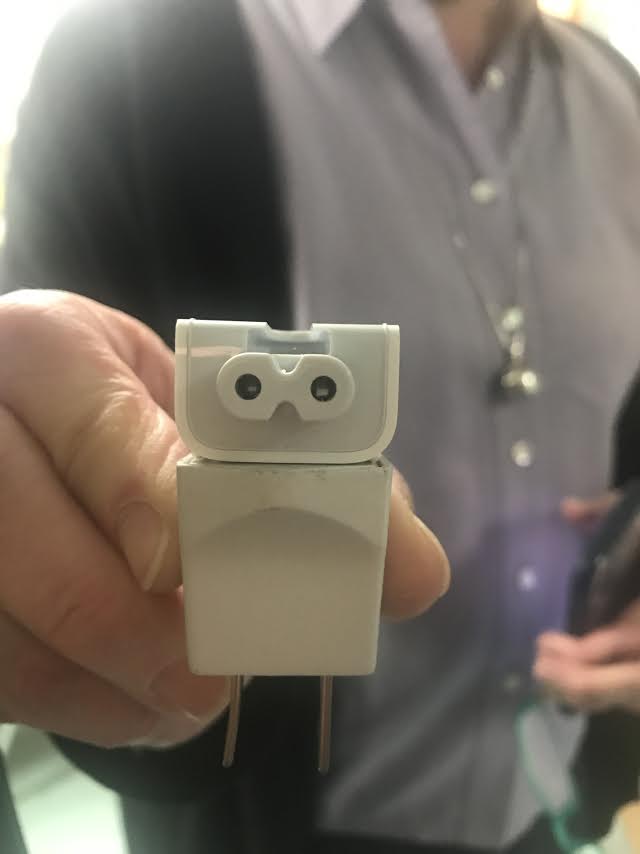
Throughout this project we were introduced to the idea of looking outside the box and discovering faces within inanimate objects. In addition to that we were able to create faces out of objects throughout the school with googly eyes. We looked throughout the hallways and photography classroom and took photos such as the ones above where we noticed a face. I outlined the face on a few of them because it may not have been as noticeable.
 Throughout this project we were able to use our photography skills to take pictures of each letter in the alphabet that we were able to find throughout the school. Once we had a picture of each letter we opened all of them in photoshop and cropped any picture that was too far away or had too much going on around the letter and placed them in alphabetical order. There was an extra space at the end where the y and z are so I added my name to fill the space.
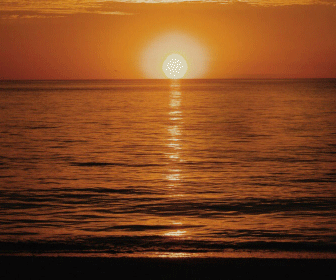
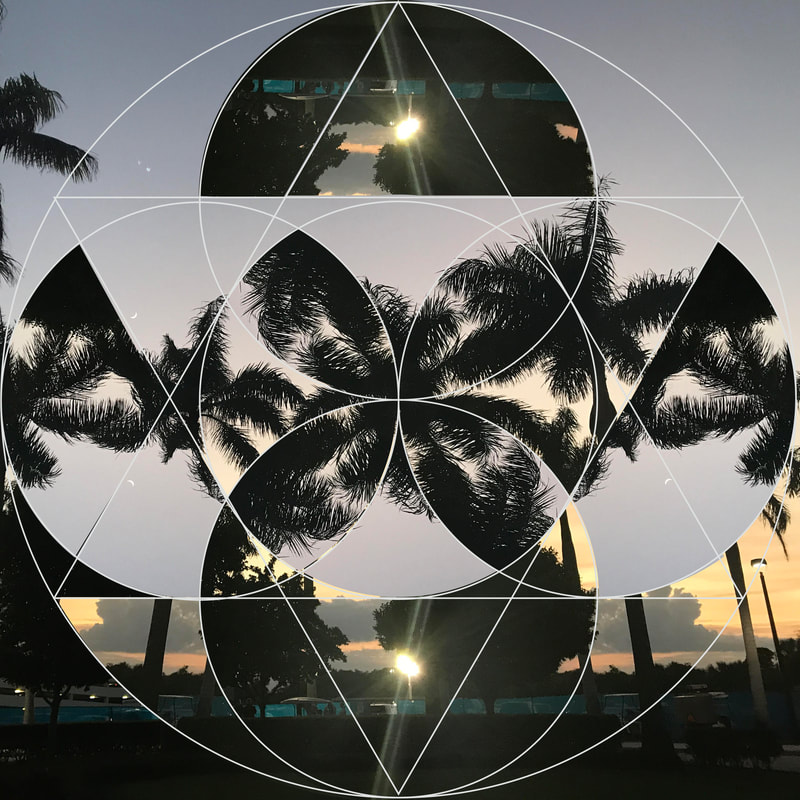 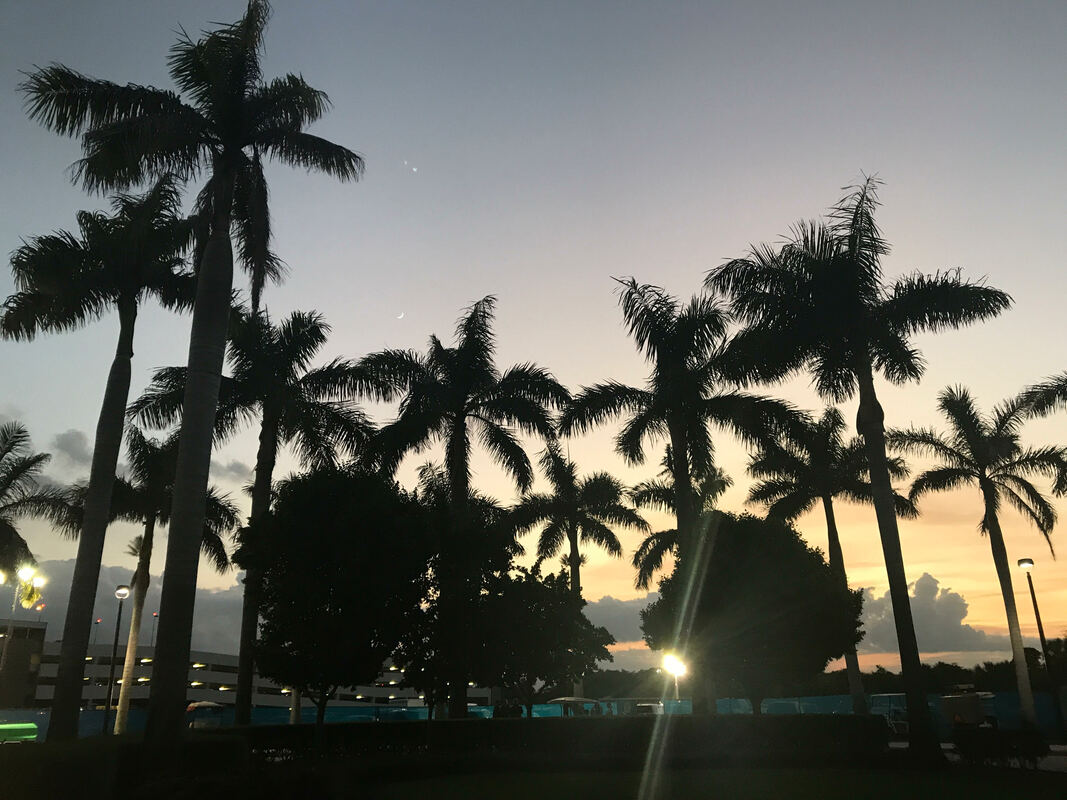 Throughout this project we found out how to essentially distort a photo without actually distorting it. We were able to take a photo and move things around so that you could see the image in a different perspective. The image I chose was one I took in Florida while visiting my sister. The sun had began to set and the sky took over an orange color while I stood under palm trees so I decided to capture the moment. This collage did not come out as I had imagined it to although I attempted to create some sort of symmetry.
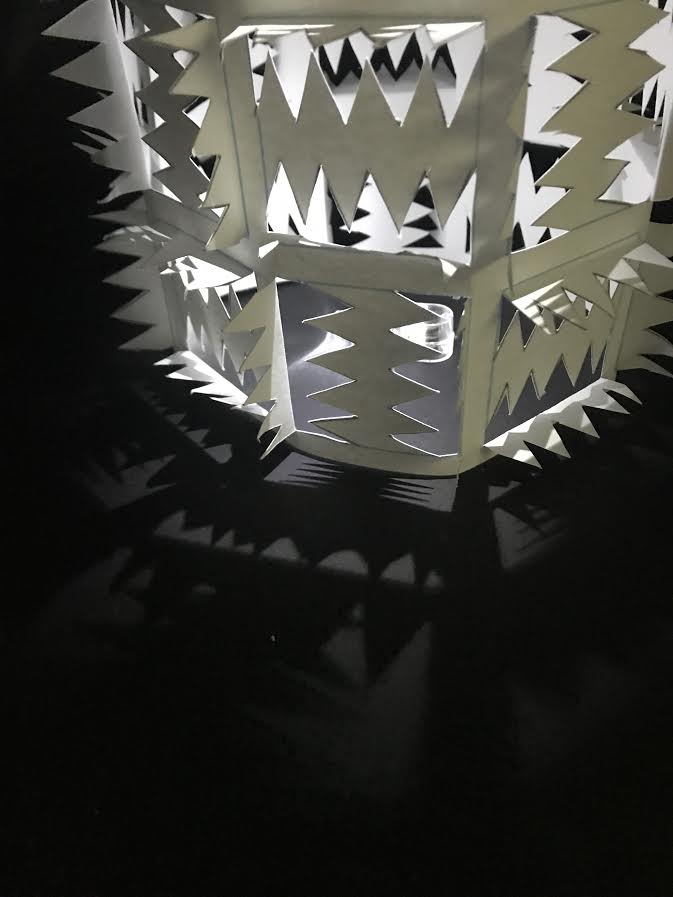
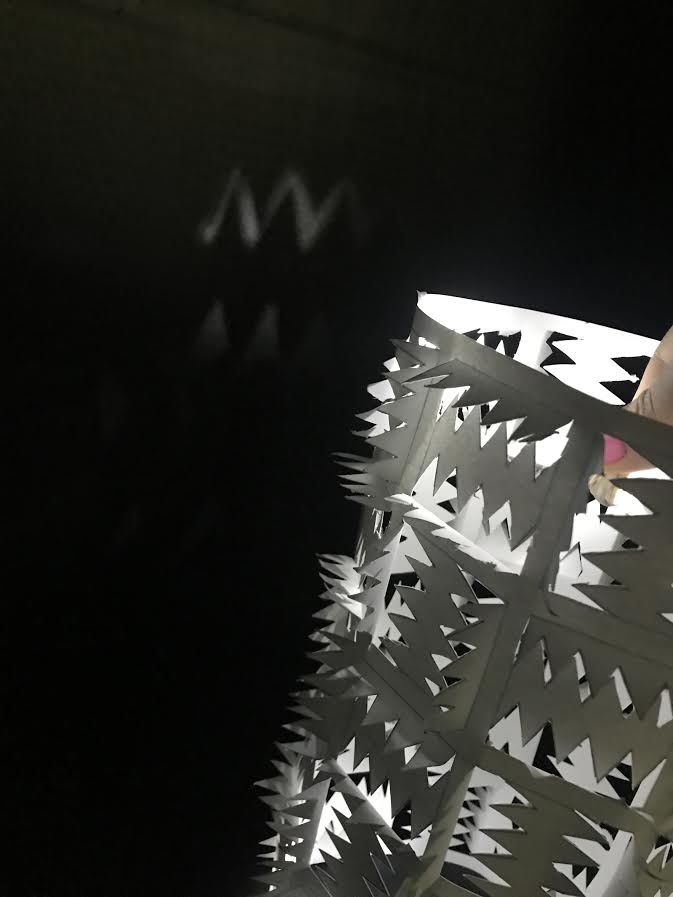
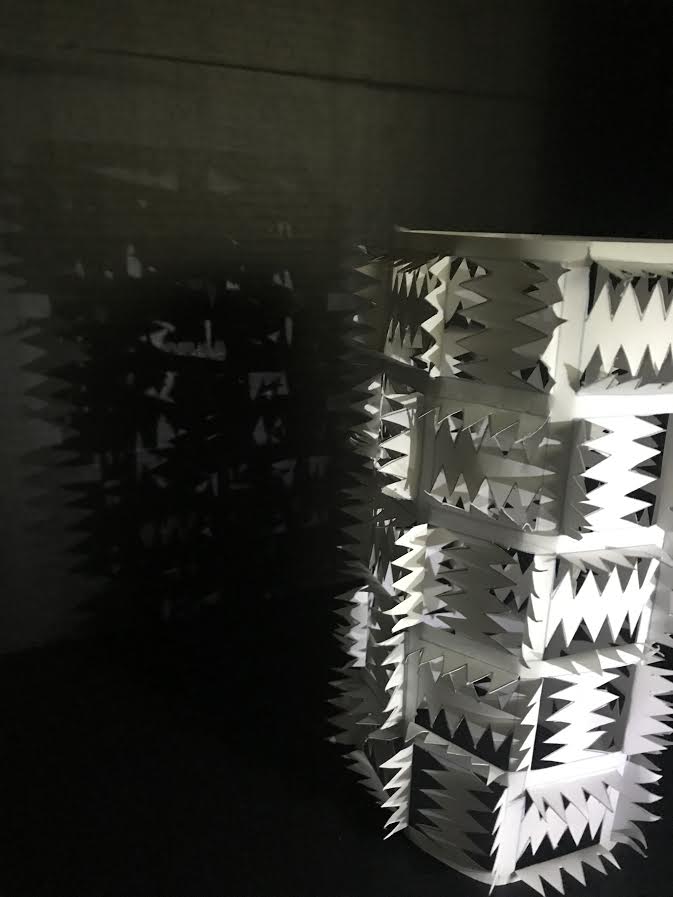
Throughout the passed few days we have been working on a new project involving casting shadows. The first thing we did was download a file from itslearning. This file opened a platform in Adobe Illustrator which consisted of a rectangular white platform with numerous squares within it. Our job was to create at least two different designs to be repeated throughout the squares. Once every square was filled we printed the illustration onto a large paper. We then used an X-ACTO knife to carve out the designs within the squares without removing any part of the paper. Once the paper was carved we folded each carved square to a 90 degree angle. We then rolled the whole paper into a large circular cylinder and taped it. In order for shadows to be seen we took our papers into a dark closet and used a black poster board as a background for the light. We used mini flashlights and shined them on the papers so there were visible designs against the poster board.
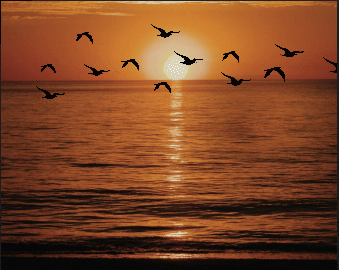 As I continued to explore Adobe Animate I decided to master the project I previously completed (gif) again with new pictures, one being my own photo that I took in Florida a few years ago. The original sunset photo has a bird diving into the water as you can see at the top of this blog page. I took this photo and put it into Adobe Photoshop and edited out the bird because it was stationary so it made the gif look less realistic. I used the same tween tool as the last project.
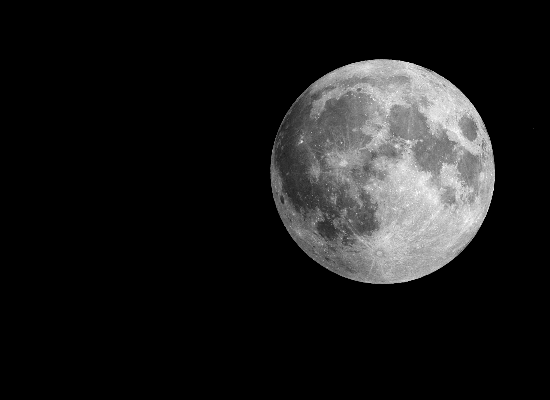
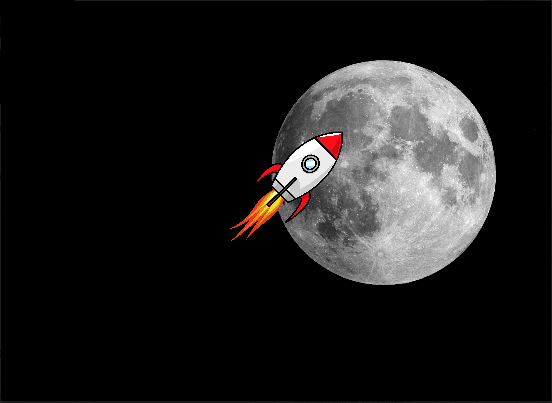 Throughout the past few days I have been working with Adobe Animate to create an animated motion gif. A gif is a lossless format for image files that supports both animated and static images. Using Adobe Animate I selected a black background to display outer space and then dropped in a clear png photo of a moon and a clear png photo of a rocket as well. I selected each dropped in image and made them both 10% of the overall size they were when I dropped them because they were too large for the black background. I made two separate layers for the moon and the rocket ship so I could get a motion tween for the rocket ship without the moon moving. I dragged out the rocket ship so it was on several different frames and then created the motion tween. A motion tween is where you can place an image somewhere for its start location and drag the image to the last desired location and it creates motion in between the two images so that the image moves from start to end. I then put the image on a loop so it was like a gif and saved it in an animated gif format. The photo above is a screenshot but I attached a file with the motion gif.
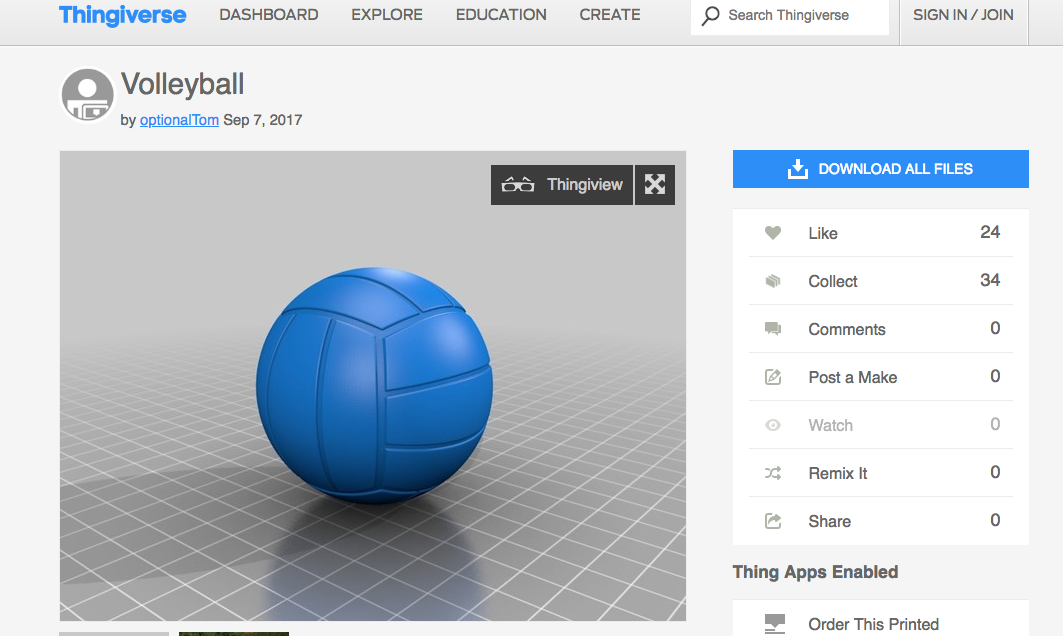
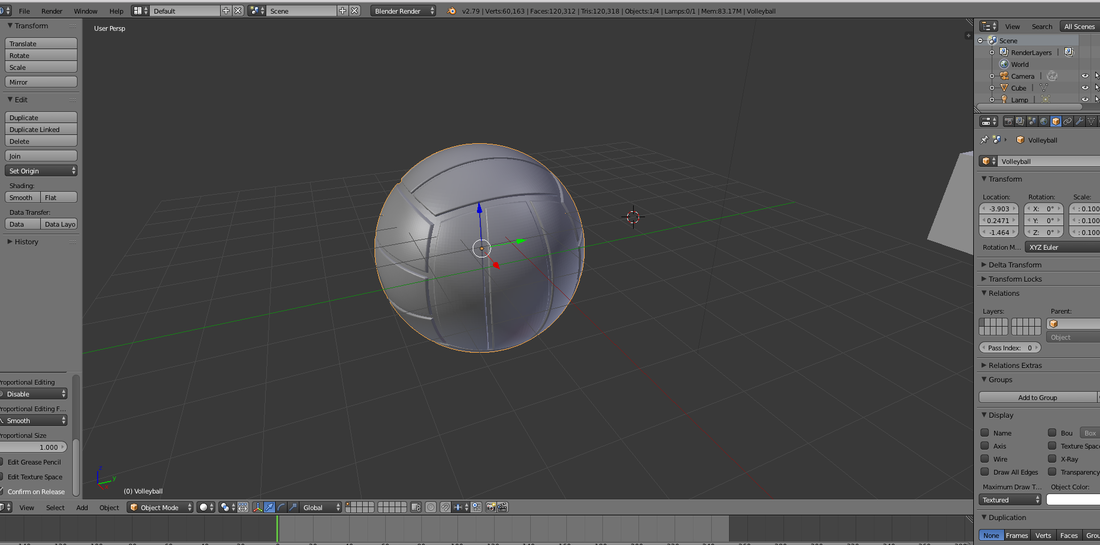
Today in photography Colin taught us how to temporarily download an animation app called Blender. Blender initially opens with a 3D cube. Using the website Thingiverse we were able to search our own file that we would then open with Blender. The screenshots above include a volleyball that I searched in Thingiverse and then the same file opened into the Blender app.
 Today we went through the first few assignments to the beginning of our animation section. I am excited to learn more about the animation process throughout animated films. It is very interesting to see how many different jobs are involved in the creation of a single film. Another thing I found interesting was the order by which things happen when creating an animated film. For example the lighting is something that comes in after a scene is created.
|
Morgan
Welcome to my first blog for photography class. Archives
May 2019
Categories |
||||

 RSS Feed
